Bone Animation to Prop Animation
|
When creating an animation in Blender, it is convenient to parent a prop such
as a gun or sword to the hand bone so the prop will automatically move as the pose of
the figure changes. The Movies Game, however, does not do things that way. The animation
of the armature and the animation of the carriable prop are separate blocks of data treated
independently and called Bone Animations and Static Animations respectively. In order to
export your animation from Blender to The Movies game, you must convert your completed
animation to the same structure.
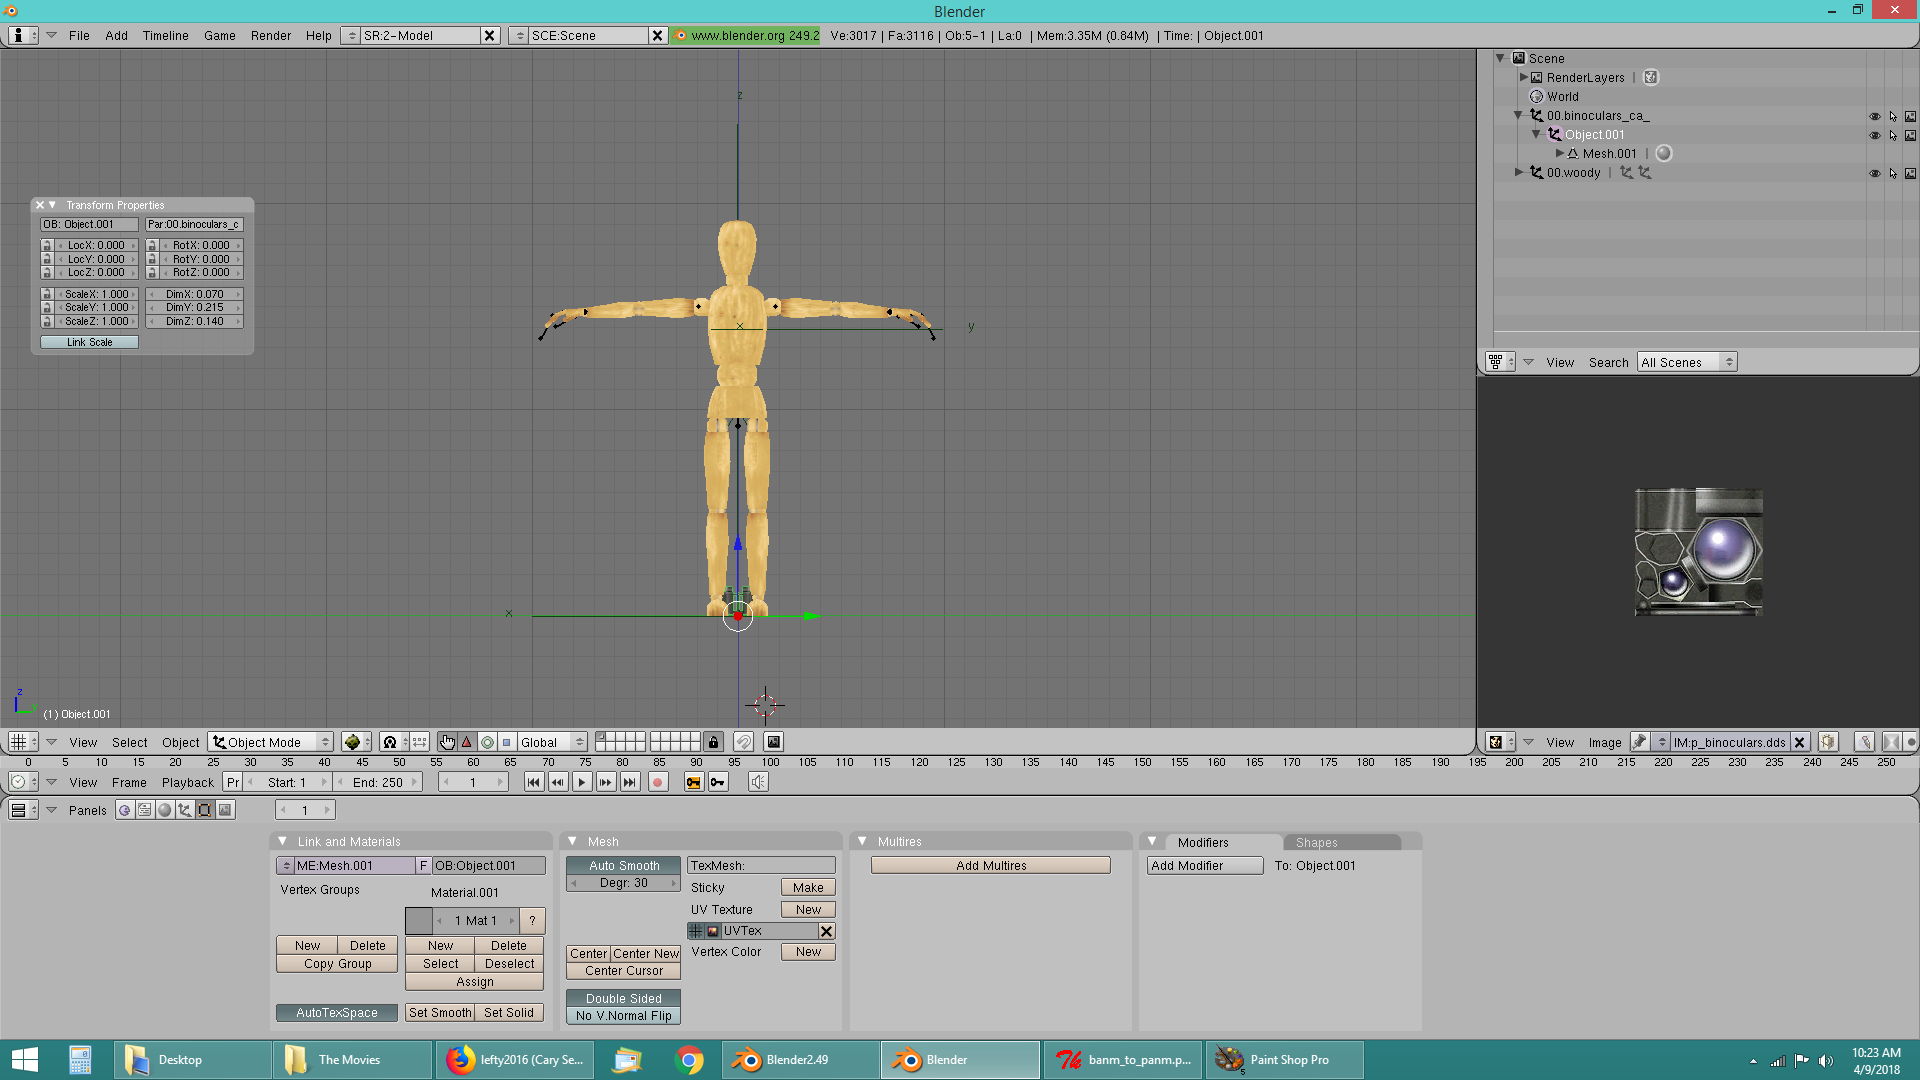
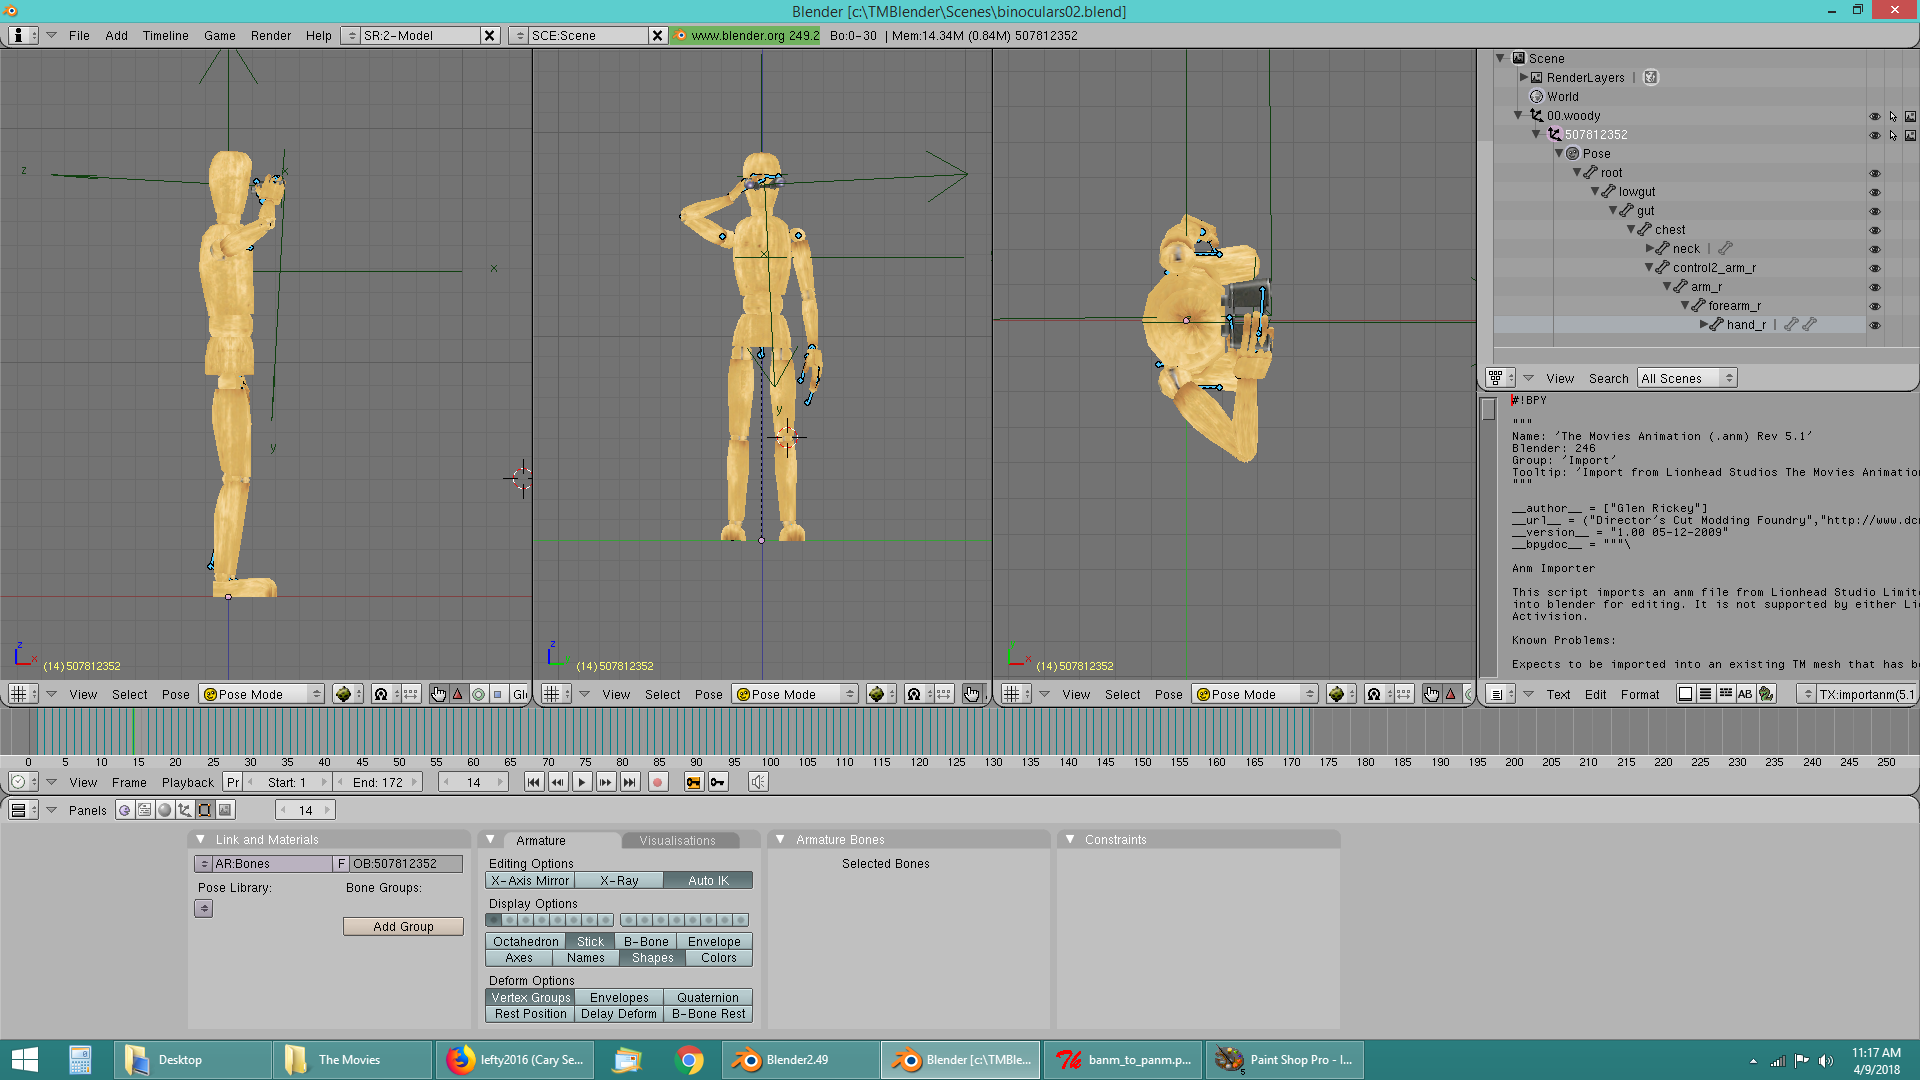
This tutorial describes a process for setting up a hand prop animation in Blender which is to be exported to The Movies Game (The html document presents the screen shots in a reduced size, but you can view the full size version by clicking right on the image and selecting "view image." Please come back here when you are done.). The first step is to import your meshes.
We have imported the mesh for the mannikin (woodenman.msh) and the binoculars (p_binoculars.msh).
Next grab the empty containing the binoculars and parent it to the hand bone of the armature. Position the binoculars in the hand. Make sure the hand bone has been selected in pose mode before you do this.
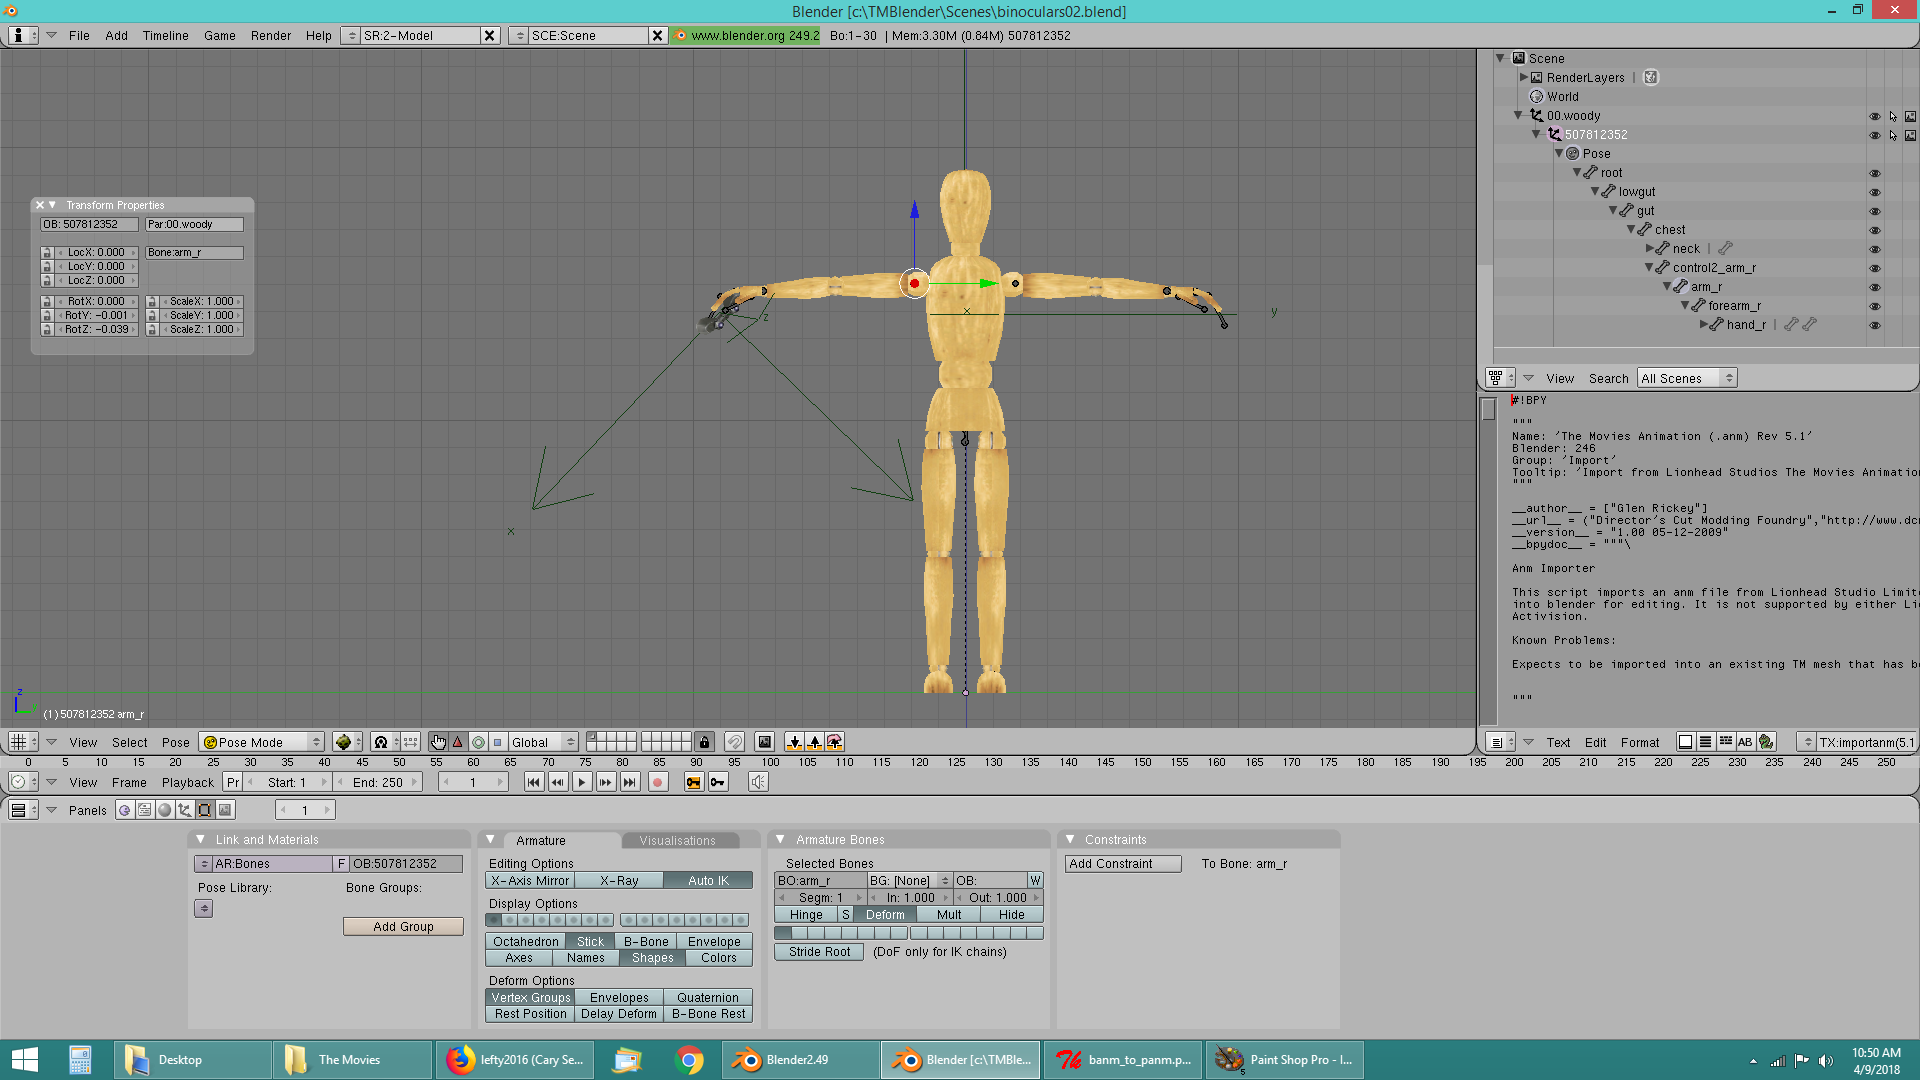
If all goes well, the binoculars should move with the hand as you alter the pose. Now you can import the animation you want to modify. I used "idle_male.ann."
For a longer animation, set append=1 in the ID property browser and import additional copies until you have enough frames. In the next step, we will change the animation for the right arm, but leave everything else as is.
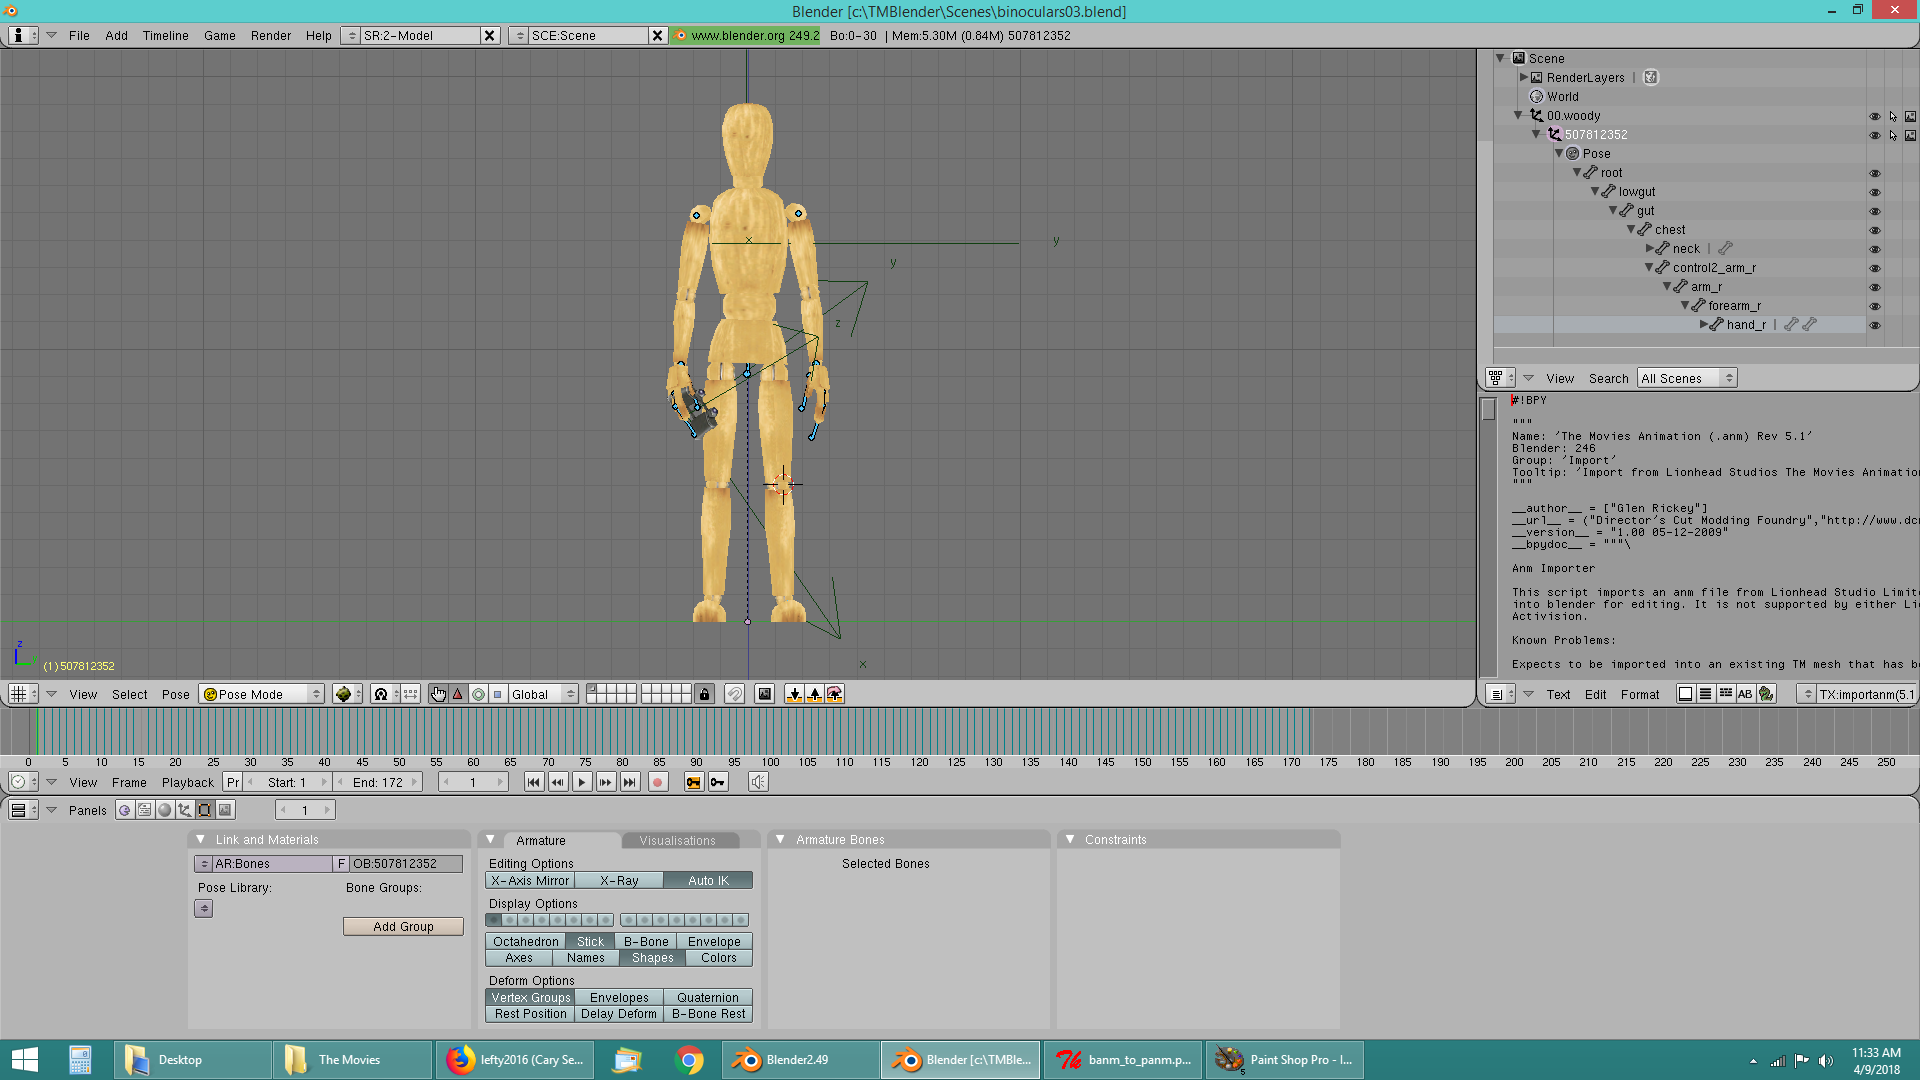
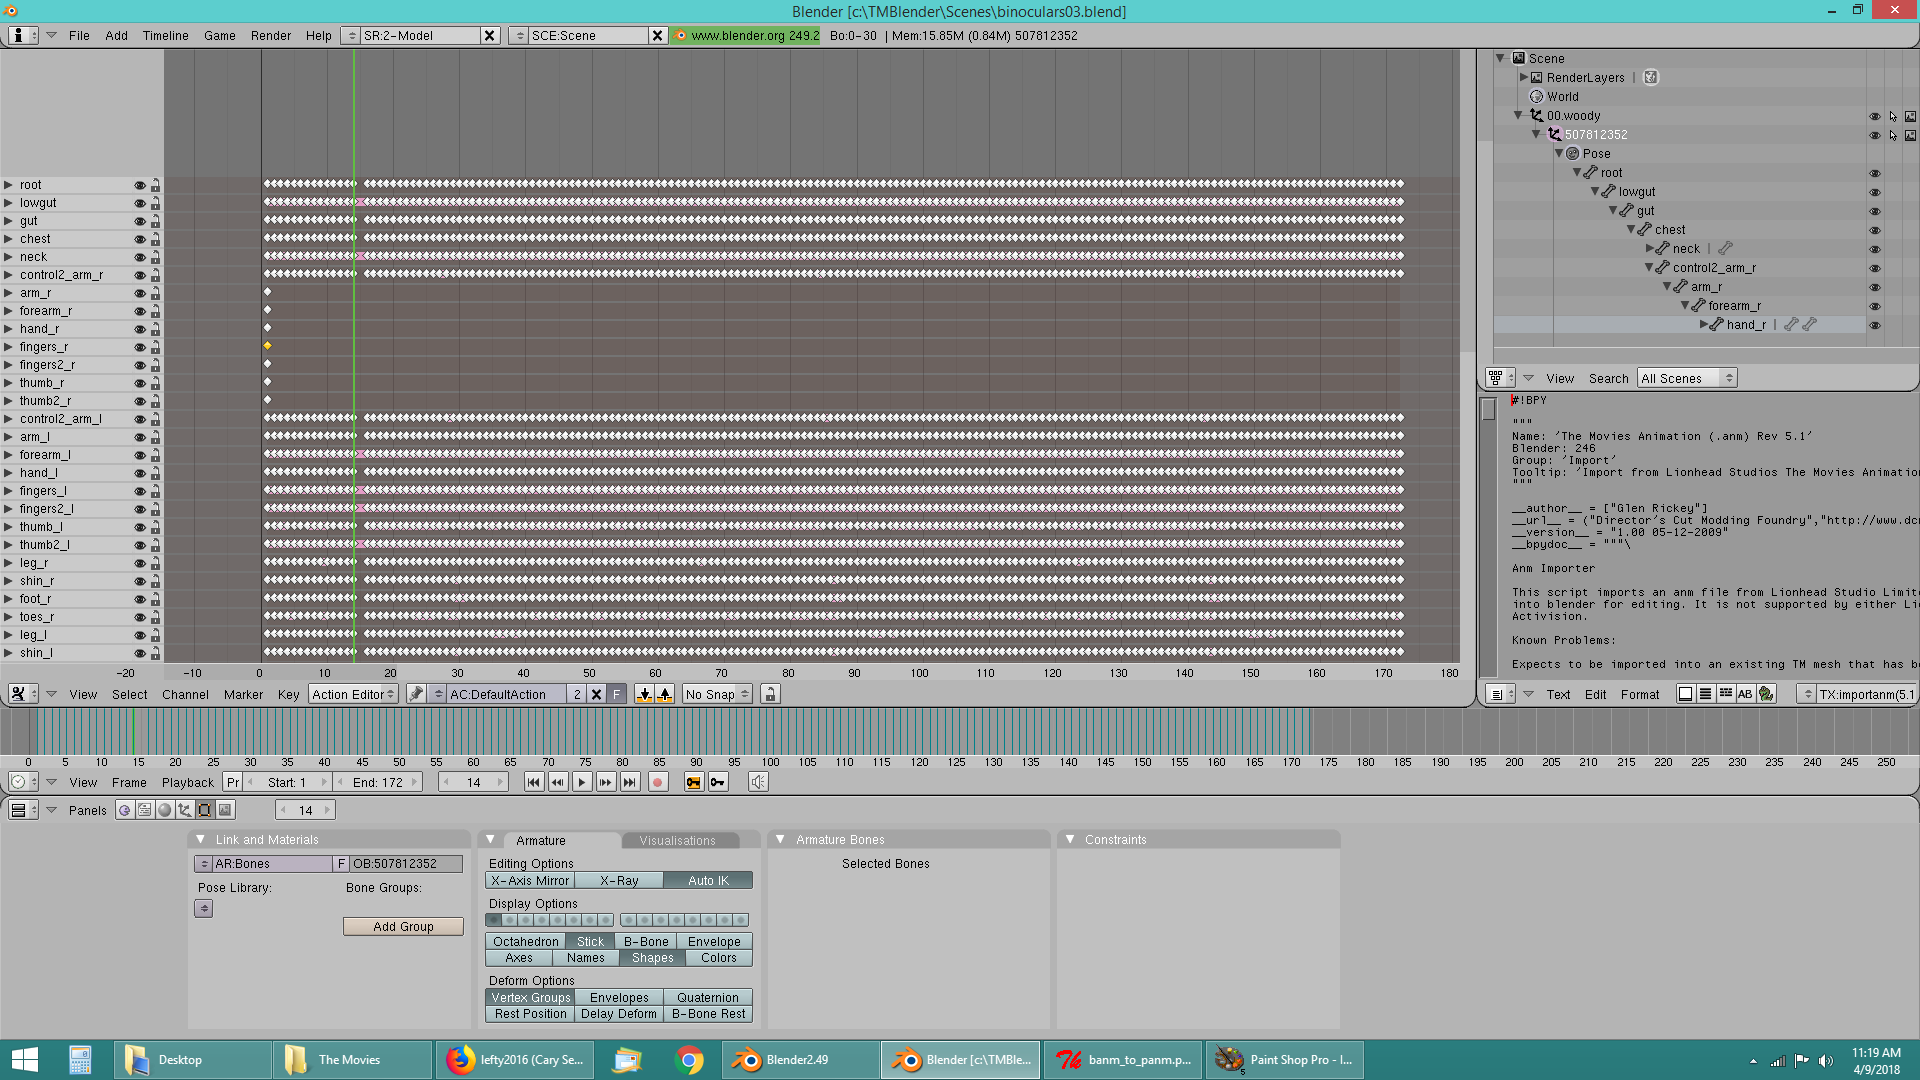
1.0 With the armature selected, open the actions editor Now we will set a pose at frame 14 or so with woody looking through the binoculars. If you wnat to have him move slow and dramatic, use a later frame.
If auto-IK is turned on, you can just drag the hand around till you get an acceptable pose. Once you are satisfied, set a key frame at that location in the time line. I added additional keyframes to lower the binoculars again at the end. Click on the image above to see the result. Once we have the animation to our liking, and it plays it blender, we need to detach the prop from the hand and turn it into a separate, static animation. The way we do this is to run a script that I found in the blender python 2.49 manual and adapted for this application. What the script does is create an empty for each hand bone and pose it at the "world space" coordinates of the hand bones for each frame in the animation. Once that is done, we can reparent the binocular mesh to the new empty and it will move the same as it did when it was parented to the bone. Here is the complete script:
#
# When creating an animation using hand props, it is convenient to parent
# the prop to the hand when creating the animation.  In order to export to the
# movies game as a carriable prop, the hand prop needs to be converted to a
# static animation.
# What this script does is create empties that move with the hands.  The hand
# prop meshes can then be reparented to the new empties and when the animation
# plays, the props still move with the hands.
#
import Blender
from Blender import *
def main():
    scn= Scene.GetCurrent()
    arm_ob= scn.objects.active
    if not arm_ob or arm_ob.type != 'Armature':
        Draw.PupMenu('not an armature object')
        return
    print '\n\nBegin'
# Deselect all
    for ob in scn.objects:
        if ob != arm_ob:
            ob.sel= 0
    arm_mat= arm_ob.matrixWorld
    arm_data= arm_ob.getData()
    bones= arm_data.bones.values()
    pose = arm_ob.getPose()
    pbones = pose.bones.values()
    poses = {}
    for pbone in pbones:
        poses[pbone.name] = pbone
    for bone in bones:
        bone_mat= bone.matrix['ARMATURESPACE']
        bone_mat_world= bone_mat*arm_mat
        if bone.name == 'fingers_r' or bone.name == 'fingers_l':
            ob_empty= scn.objects.new('Empty','obj.'+bone.name)
            ob_empty.setMatrix(bone_mat_world)
            pbone = poses[bone.name]
            framecount = Blender.Get('endframe') + 1
            for f in range(framecount):
                Blender.Set('curframe',f)
                pbm = pbone.poseMatrix * arm_mat
                ob_empty.setMatrix(pbm)
                ob_empty.insertIpoKey(Blender.Object.ROT)
                ob_empty.insertIpoKey(Blender.Object.LOC)

    print 'Script terminated normally'
main()
The reason we use the fingers bones instead of the hand bones is because we want the new empties to be positioned at the tail of the hand bone. If you use the hand bone, the new empties will be positioned at the head of the bone and the prop will be off set when you export to The Movies Game. You can run the script in a text window. You need to select the armature before running the script. It will nag you if you forget.
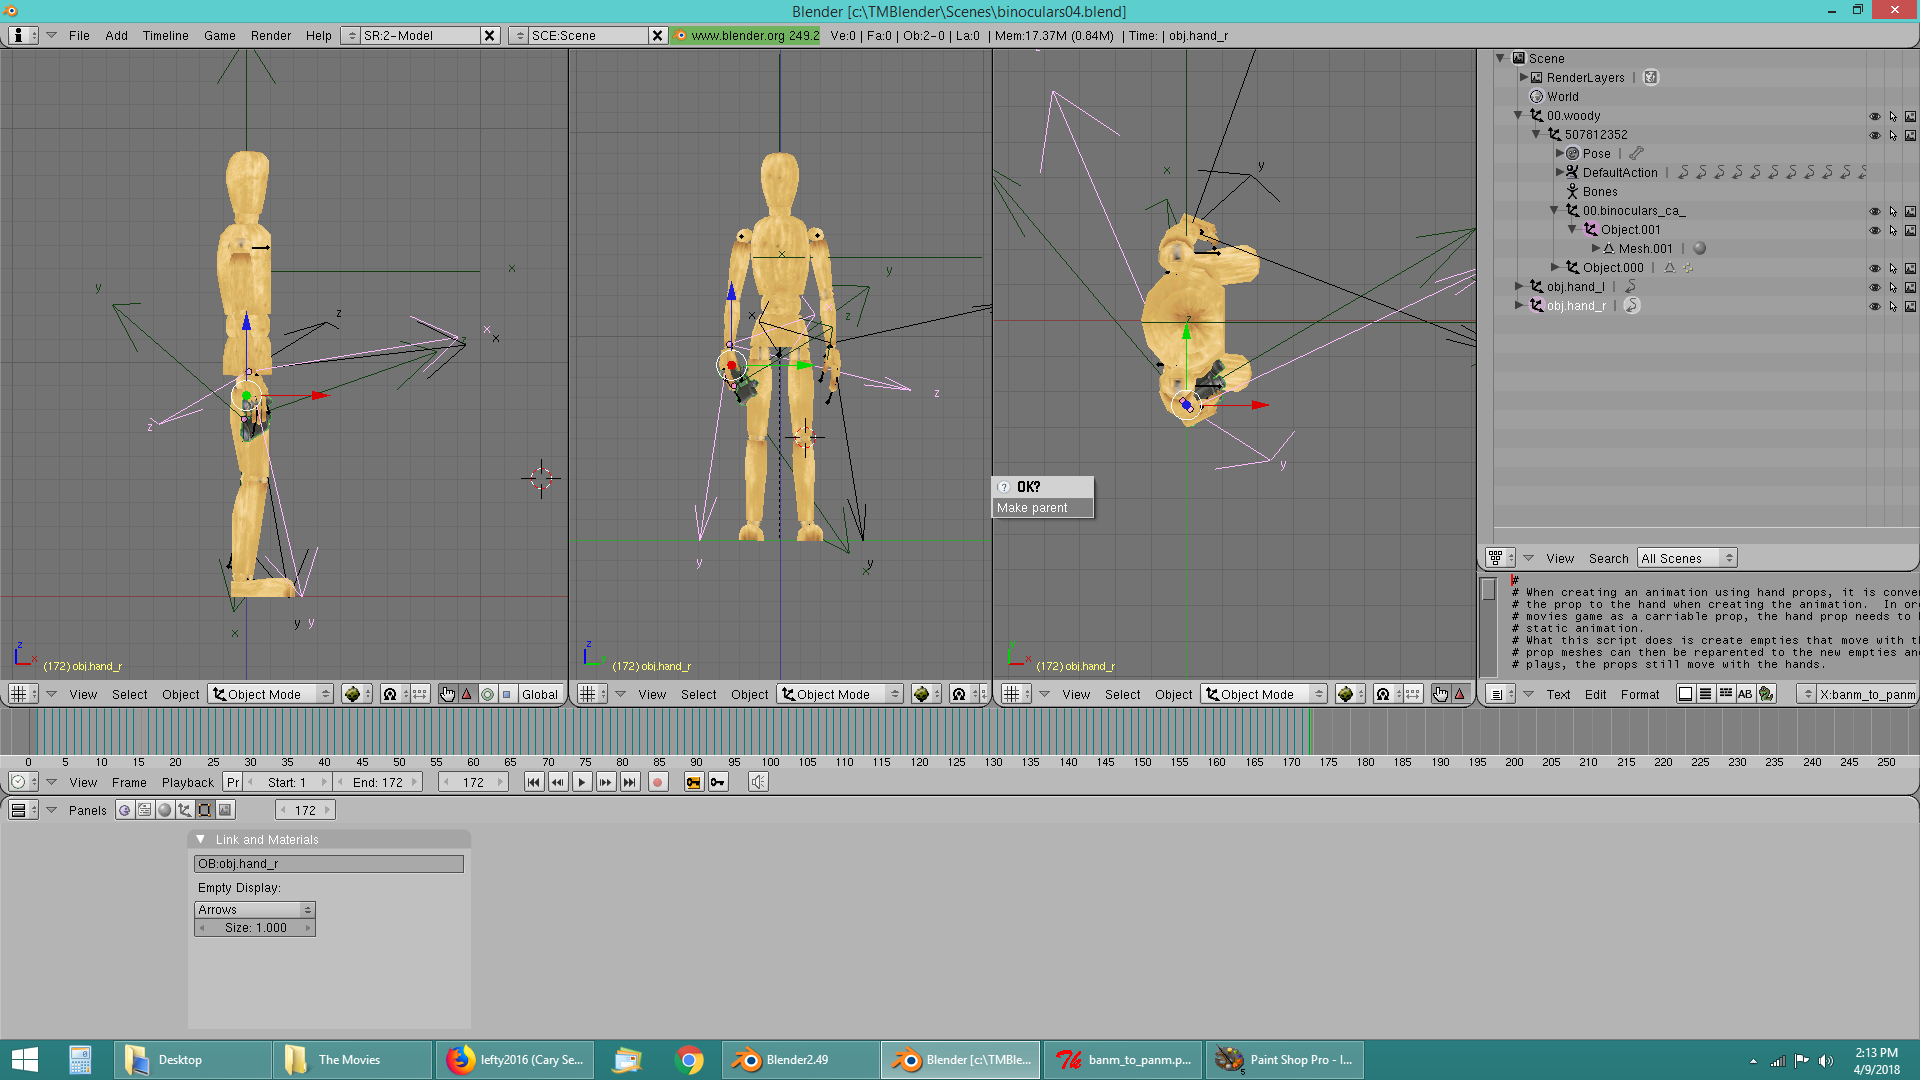
Afterward, we see the new empties that have been created in the outliner, one for the right hand and one for the left hand. To move the prop to the new empty, select the binoculars mesh, Object.001, in the outliner. Do not select the parent, 00.binoculars_ca_, select Object.001. Then, hold down the shift key, select obj.fingers_r, then enter control-P to change the parent.
Click on "Make parent" to complete the operation.
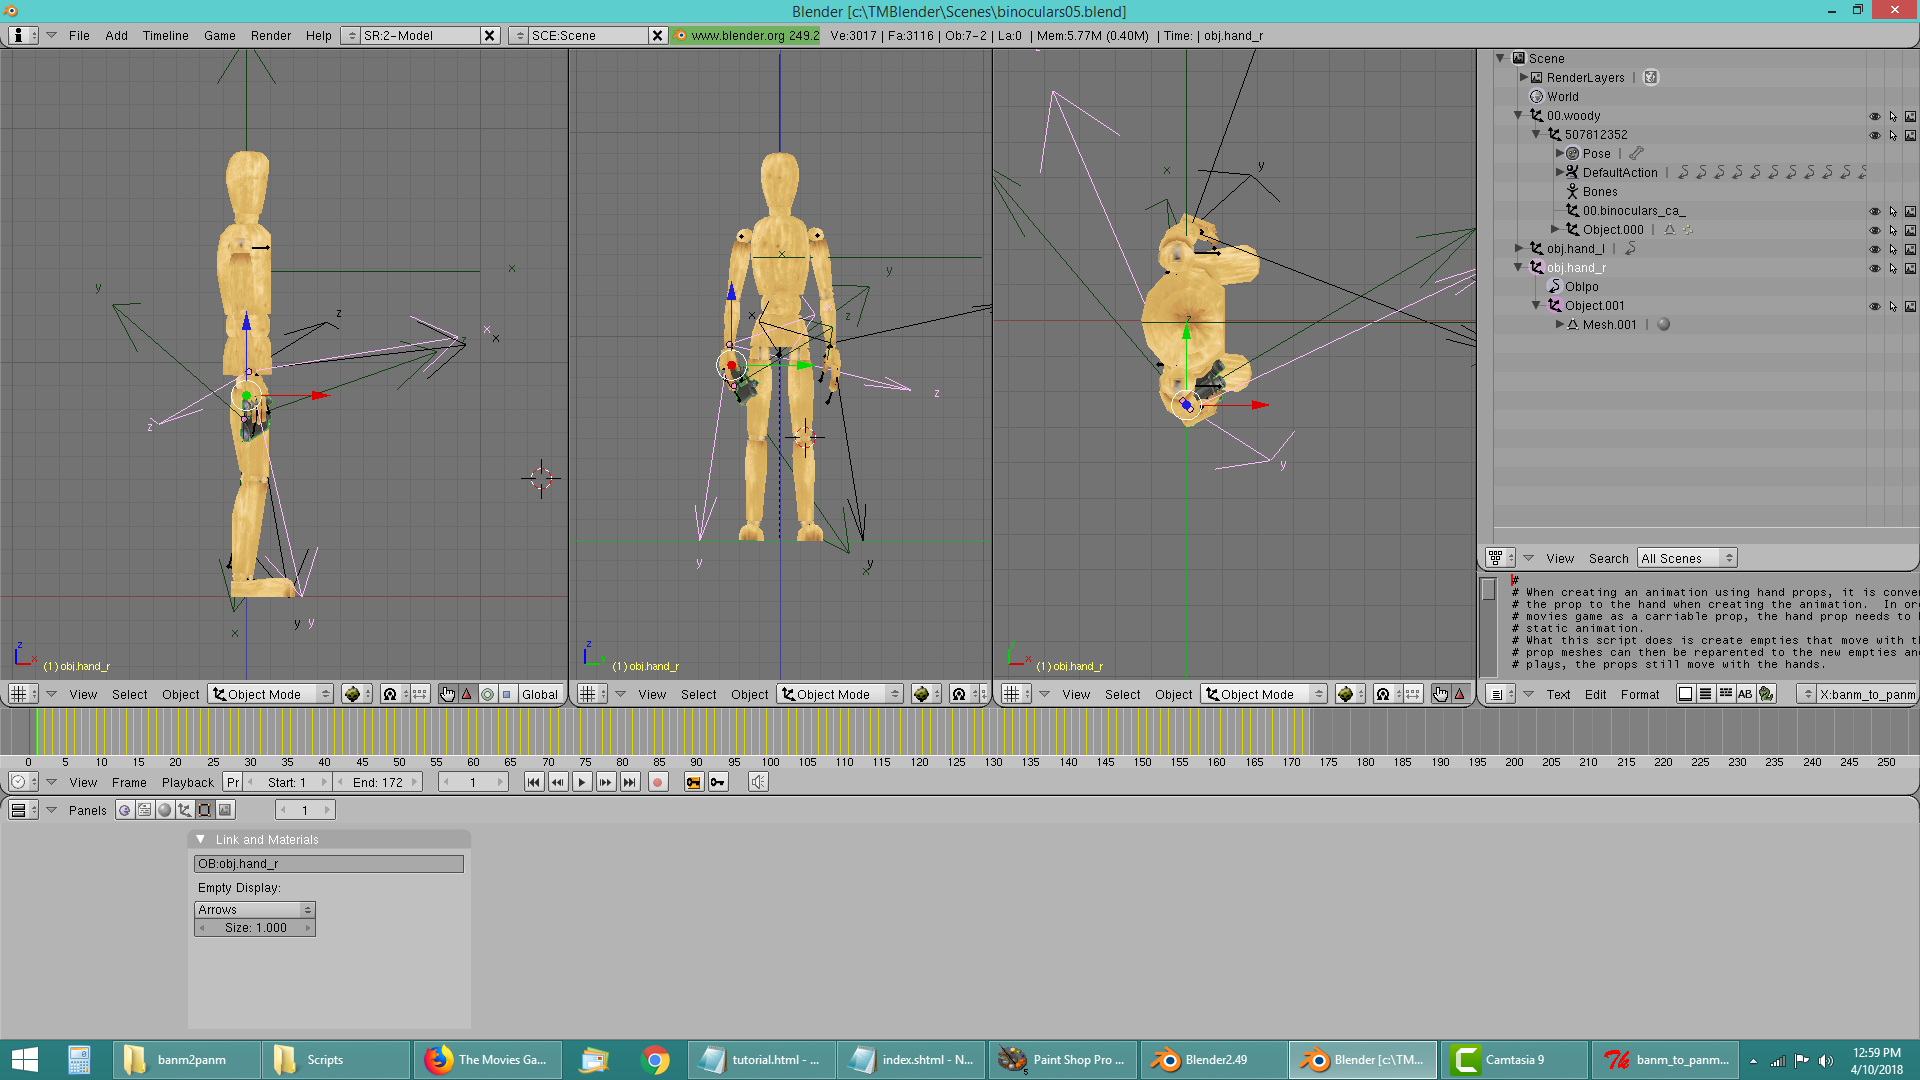
You can see in the outliner that the binocular mesh is now attached to the new empty. If you play the animation, the binoculars still move with the hand as before. You can now get rid of the unneeded empties, rename and regroup the new empties to match the target animation file you are going to update. To see the animation play, click on the image. |
|
Before exporting the animation to your target file, the ID property browser must be configured so the import and export scripts can locate the correct empties. The anm file identifies a prop animation using a "group name" such as gun_ca_, mgun_ca_, pen_ca_ and so on. The export script identifies the data to be exported to a prop animation by looking for an object in the properties browser which contains a subgroup called "TheMovies" with a field named "grpName." The value of this string grpName must match the group name in the target anm file.
If you want to export the animation data for obj.finges_r, you need to set a grpName for it in the ID properties browser. To do this, go to the ID properties browser (on the help menu) and select "Objects." Find the object named obj.fingers_r and add a subgroup named "TheMovies." In the subgroup, define a string called "grpName" and set its value to match the prop group name in the target file you want to receive the data. The easiest way to find the group name is to use a hex editor to view the target file. Another way is to import the animation before you begin and look at the group names for the prop empties that are created in the ID property browser. If the export of the prop data does not work, this is likely caused by a mismatch in the object/TheMovies/grpName property. |
| The End |
|---|
| Return to The Movies Game |